Are you struggling with high energy bills and looking for a way to make your home more comfortable and efficient? The solution might be right within your walls! Cavity wall insulation is a key factor in enhancing your home's energy performance, but with so many options available, how do you choose the right one?
This blog will guide you through the different types of insulation available for cavity walls, highlighting their benefits and drawbacks. We'll help you understand which insulation type is best suited for your home, considering factors like cost, installation, and energy savings.
Join us as we explore the world of cavity wall insulation and find the perfect solution to make your home more energy-efficient and comfortable.
Types of Cavity Wall Insulation:
Mineral Wool:
This type is made from rock or glass fibers. It's great for keeping your house warm and also helps in reducing noise from outside. It's put into the walls using a machine that blows the wool into the spaces. It's not too expensive and does a good job of keeping the heat in.
Beads and Granules:
These are tiny foam balls, usually made from a material called polystyrene. They are put into your walls through small holes. These beads are light and fit well into all the small spaces in the wall, making sure there are no gaps. They are good at keeping the heat inside and are quite quick to install.
Rigid Insulation Boards:
These are strong, stiff panels made from materials like polystyrene. They are cut to fit your walls and then attached to them. These boards work well to stop heat from escaping through the walls.
Spray Foam Insulation:
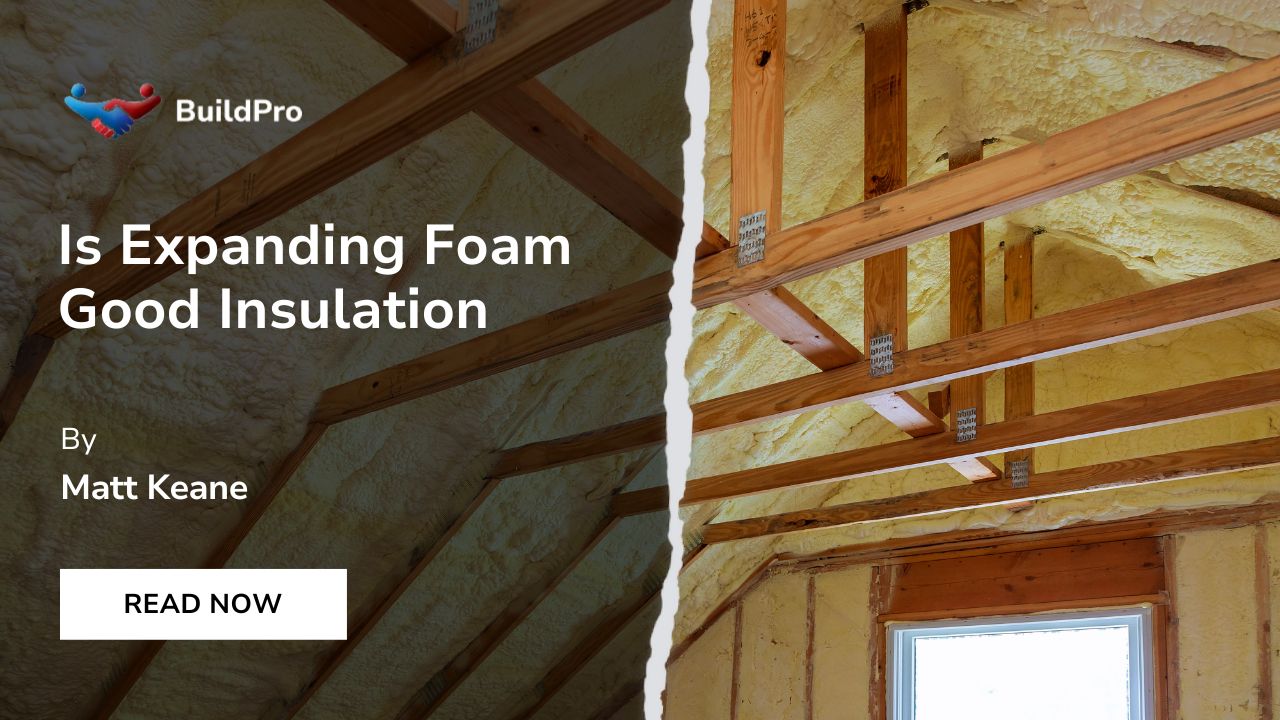
This is a foam that is sprayed into the wall space. It starts as a liquid but quickly turns into foam and expands to fill up all the gaps. There are two kinds: one is softer and less dense, and the other is thicker and better at insulating. This type is very good at stopping heat from escaping and keeps out moisture too.
Cavity Batts:
These are like big, thick blankets made from mineral wool. They are specially made to fit into wall spaces. Covered with a water-resistant layer, they are good at keeping your home warm and dry.
Each of these insulation types has its own benefits, and choosing the right one depends on your specific needs, like how much you want to spend, the size of your walls, and how easy it is to install. Remember, good insulation not only keeps your home warm in winter but also helps in reducing your energy bills.
Pros and Cons of Each Type of Cavity Wall Insulation:
Mineral Wool:
- Pros:
- Good at keeping heat inside.
- Helps reduce outside noise.
- Resistant to moisture.
- One of the less expensive options.
- Cons:
- Can settle over time, reducing effectiveness.
- Heavy and dense, making it harder to install.
- Can release fibers during installation that may irritate skin or lungs.
Beads and Granules:
- Pros:
- Good at stopping heat loss and improving energy efficiency.
- Quick and easy to install.
- Fills cavities evenly for consistent coverage.
- Good sound-absorbing properties.
- Cons:
- Can settle or compact in the cavity, reducing effectiveness.
- Limited resistance to moisture.
- Can allow some air movement, reducing overall performance.
- May be more expensive compared to other options.
Rigid Insulation Boards:
- Pros:
- Very effective in reducing heat transfer.
- Can be cut to fit various sizes.
- Durable and long-lasting.
- Cons:
- Can be more expensive than other types.
- Requires careful installation to ensure proper fitting.
- Not very flexible, so may not fit all wall types.
Spray Foam Insulation:
- Pros:
- Provides high-level thermal resistance.
- Expands to fill all gaps, creating an airtight seal.
- Closed-cell type is impermeable to moisture.
- Adapts to the shape of the area being insulated.
- Cons:
- Usually the most expensive option.
- Professional installation required.
- Can release chemicals during application.
- Difficult to remove or modify once applied.
Cavity Batts:
- Pros:
- Effective in preventing heat loss.
- Water-resistant covering adds moisture protection.
- Simple to fit into standard cavity spaces.
- Cons:
- Can be bulky and harder to handle.
- Installation requires care to avoid gaps.
- May not be suitable for all wall types.
Suitability and Installation of Cavity Wall Insulation:
Checking if Your Home is Suitable:
Wall Type:
Your home should have cavity walls. These are walls with a gap in the middle, usually found in houses built after 1920.
Wall Condition:
The walls should be in good condition. If there are damp patches or the walls are often wet, it's not a good idea to add insulation until these issues are fixed.
Cavity Width:
The gap in the walls should be at least 2 inches wide to allow for effective insulation.
Access to Walls:
The walls should be easy to reach. If parts of the walls are hard to get to, like behind a garage or an extension, it might be more difficult or costly.
Building Height:
Your home should be less than about 4 storeys high.
Wall Material:
If your house has timber or steel frames, you might need a different kind of insulation or it might not be suitable at all.
Installing the Insulation:
Professional Check:
A professional should first check that your home is suitable.
Preparation:
They might need to make small holes in the walls for some types of insulation.
Installation Process:
The insulation is then added to the walls. This could be by blowing in mineral wool or foam beads, spraying foam, or fitting boards or batts.
Finishing Up:
After installation, the professional should fill any holes made during the process and clean up any mess.
Important Considerations:
It's always best to have a professional do this work. They know how to check if your home is right for insulation and how to install it properly.
Make sure the person doing the work gives you a guarantee and follows building regulations.
The type of insulation you choose will affect how it's installed. For example, spray foam and mineral wool are blown into the walls, while boards and batts are fitted into place.
Remember, the right insulation can make your home warmer, reduce your energy bills, and make your living space more comfortable. But it's important to make sure your home is suitable first and to get a professional to do the installation.
When considering the costs and savings associated with cavity wall insulation in Ireland, there are several factors to keep in mind:
Costs of Cavity Wall Insulation in Ireland
- The cost of pumped cavity wall insulation in Ireland typically ranges from €8.50 to €13 per square meter.
- For different types of properties, the costs can vary. For example:
- A 2-bed semi-detached house might cost between €1,500 to €1,800.
- A 3-bed semi-detached house could range from €1,800 to €2,100.
- A 4-bed semi-detached house may cost around €2,200 to €2,500.
- The overall cost depends on factors like the size of your property, the insulation material used, the condition of the walls, and the location of your home.
Savings and Benefits
- Investing in cavity wall insulation can significantly reduce your heating costs. Many homeowners find that their heating bills are cut by up to half due to improved energy efficiency.
- Besides financial savings, there are additional benefits like increased comfort in your home, noise reduction, and enhanced property value.
- Insulation also contributes to a reduced carbon footprint, making it an environmentally friendly choice.
Government Grants and Subsidies
- Homeowners in Ireland can access grants and subsidies, which can significantly reduce the upfront costs of insulation. These grants are provided by organisations like the Sustainable Energy Authority of Ireland (SEAI).
- Various grants are available for different types of insulation, including attic, wall, and floor insulation. These grants are particularly helpful for those who find the initial investment daunting.
- There are also targeted subsidies for certain groups, such as pensioners and low-income households, ensuring that energy efficiency improvements are accessible to a wider range of people.
Importance of Professional Installation
- While DIY installation might seem cost-effective, it's generally advisable to opt for professional installation. This ensures that the insulation is installed efficiently and lasts longer.
- Poorly installed insulation can lead to increased energy costs and might even necessitate reinstallation.
- Professional contractors can provide a complete range of services and ensure that the best insulation solution is implemented for your home.
Cavity wall insulation in Ireland is a wise investment for long-term savings and comfort. The costs can vary based on several factors, but government grants and subsidies are available to help offset these expenses. Professional installation is recommended to ensure optimal efficiency and longevity of the insulation.
Government Support and Grants in Ireland for Cavity Wall Insulation
In Ireland, if you're planning to insulate your home, you can get help from the government in the form of grants and subsidies. These are offered to encourage homeowners to improve their home's energy efficiency, which is good for both the environment and your wallet.
Here’s a quick overview:
Grants Available:
- Homeowners can apply for different grants that cover various types of insulation, including cavity wall insulation.
- The Sustainable Energy Authority of Ireland (SEAI) provides these grants.
Amount of Grants:
- The grants can vary based on the type of property. For example, an apartment might get a grant of €700, while a detached house could receive up to €1,700.
- These grants can significantly reduce the cost of insulating your home, making it more affordable.
Eligibility for Grants:
- To qualify for these grants, your home usually needs to meet certain conditions, like being built before a specific year or having a certain energy performance rating.
- It's important to check the specific requirements for each grant to see if your home qualifies.
Benefits of Grants:
- These grants help in covering a significant portion of the insulation costs.
- They make energy efficiency improvements accessible to a broader range of people, including those who might find the upfront costs challenging.
How to Apply:
- You can apply for these grants through the SEAI or other relevant authorities.
- It's a good idea to get all the necessary information and make sure you meet the criteria before applying.
Additional Support:
- There are also targeted subsidies for certain groups like pensioners and low-income households.
- These additional supports ensure that energy efficiency is achievable for all homeowners.
By taking advantage of these government grants and subsidies, you can make your home more energy-efficient at a reduced cost. These initiatives not only save you money in the long run but also contribute to a healthier environment by reducing energy consumption.
Conclusion
Cavity wall insulation is a key element in enhancing the energy efficiency and comfort of your home. From cost-effective mineral wool to high-efficiency spray foam, there are options to suit different needs and budgets. With the support of government grants and subsidies in Ireland, upgrading your insulation becomes even more accessible.
Remember, the right insulation not only reduces your energy bills but also contributes to a greener environment. For expert advice and top-notch insulation services, consider Build Pro, your go-to professionals for the best cavity wall insulation solutions. Reach out to Build Pro today and take a step towards a more energy-efficient and comfortable home.