Are you tired of cold floors and high heating bills in your home? If you have a concrete slab foundation, you may be losing a lot of heat and money through the ground.
Insulating a concrete slab can make a huge difference in your home’s comfort, energy efficiency, and property value. But how do you insulate a concrete slab? What are the best materials and methods to use? And what are the costs and benefits involved?
This blog will explain everything you need to know about how to insulate a concrete slab, including the materials, methods, benefits, and cost. Let’s dive right in!
How Does Concrete Slab Insulation Work?
Concrete slab insulation works by creating a thermal barrier between the slab and the ground, or between the slab and the air. This reduces the heat transfer by conduction, which is the direct transfer of heat between two solid materials that are in contact. By reducing heat transfer, the insulation helps to maintain a more stable and consistent temperature in your home, regardless of the outside weather.
The effectiveness of concrete slab insulation depends on several factors, such as the type, thickness, and R-value of the insulation, the size and shape of the slab, the soil temperature and moisture, and the indoor and outdoor temperature and humidity.
The R-value is a measure of how well the insulation resists heat flow, and the higher the R-value, the better the insulation. The R-value of concrete slab insulation can range from 0.5 to 6.0 per inch, depending on the type of insulation.
How to Insulate a Concrete Slab?
Insulating a concrete slab is not a difficult task, but it does require some planning and preparation. Here are the steps involved in insulating a concrete slab:
Choose the Type of Insulation
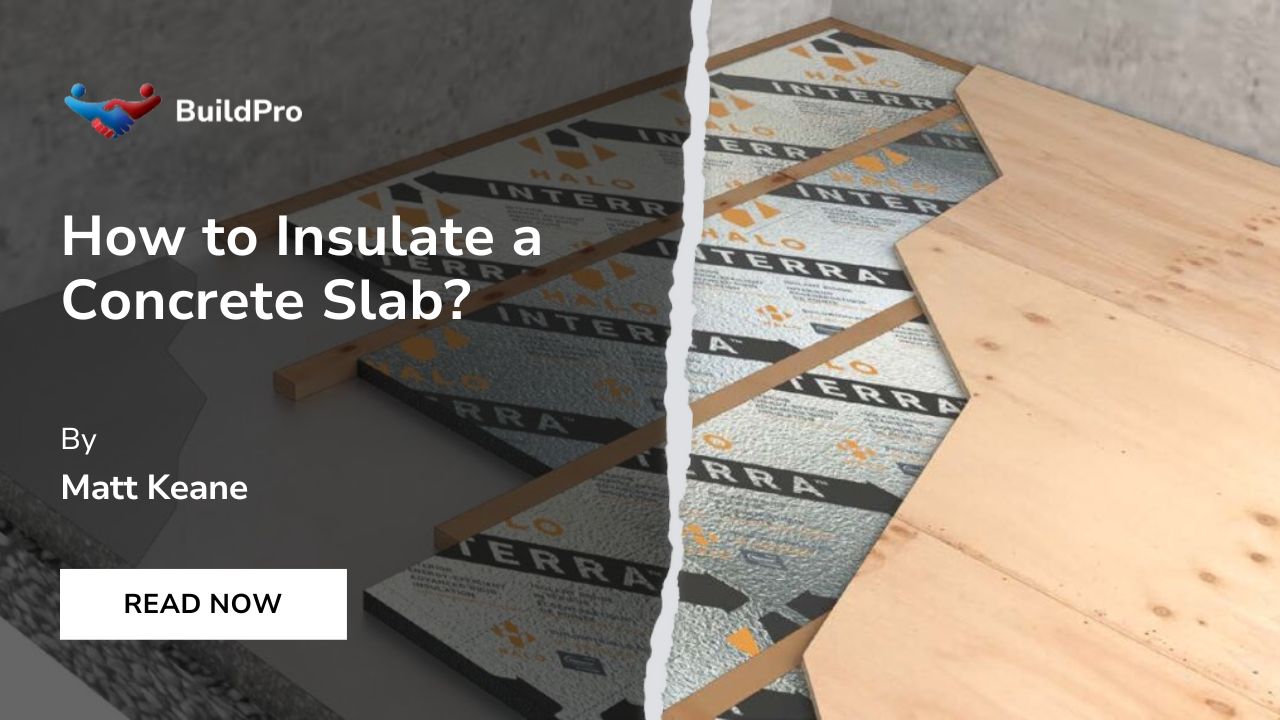
The first step is to choose the type of insulation that suits your needs and budget. There are two main types of insulation for concrete slabs: rigid foam and spray foam.
- Rigid foam is a board-like material that comes in various thicknesses and densities. It is easy to cut and install, and it provides good thermal resistance and moisture protection.
- Spray foam is a liquid material that expands and hardens when applied. It can fill any gaps and cracks in the slab and provides excellent thermal resistance and air sealing. However, spray foam is more expensive and requires professional installation.
The table below compares the pros and cons of each type of insulation:
Prepare the Slab
The next step is to prepare the slab for insulation. This involves cleaning the slab, repairing any cracks or damage, and levelling the surface. You will need the following tools and materials for this step:
- Broom or vacuum cleaner
- Concrete repair kit or epoxy
- Self-levelling compound or screed
- Trowel or squeegee
- Tape measure and chalk line
- Safety gloves and goggles
Here are the instructions for preparing the slab:
- Clean the slab with a broom or vacuum cleaner, removing any dust, dirt, or debris.
- Repair any cracks or damage in the slab with a concrete repair kit or epoxy, following the manufacturer’s instructions.
- Level the surface of the slab with a self-levelling compound or screed, using a trowel or squeegee to spread it evenly. Allow it to dry and cure according to the manufacturer’s instructions.
- Measure and mark the perimeter of the insulation area with a tape measure and chalk line, leaving a gap of at least 10 mm from the walls.
Install the Insulation
The third step is to install the insulation on the slab. This involves cutting and fitting the insulation, taping the joints, and adding a vapour barrier if needed. You will need the following tools and materials for this step:
- Insulation boards or spray foam
- Utility knife or saw
- Insulation tape or spray foam gun
- Polyethylene sheet or spray foam
- Staple gun or spray foam
Here are the instructions for installing the insulation:
- Cut the insulation boards to fit the slab, using a utility knife or saw. Leave a gap of at least 10 mm between the walls and around any pipes or vents.
- Fit the insulation boards on the slab, starting from one corner and working your way across. Make sure the joints are tight and aligned.
- Tape the joints between the insulation boards with insulation tape, or fill them with spray foam, using a spray foam gun. Make sure there are no gaps or air leaks.
- Add a vapour barrier over the insulation, using a polyethylene sheet or spray foam. Staple the sheet to the walls or spray foam over the insulation, making sure it covers the entire area and overlaps the joints.
Finish the Floor
The final step is to finish the floor over the insulation. This involves choosing the type of flooring, laying the subfloor, and installing the flooring. You will need the following tools and materials for this step:
- Flooring material (e.g. laminate, vinyl, carpet, tile, etc.)
- Subfloor material (e.g. plywood, OSB, cement board, etc.)
- Adhesive, nails, screws, or staples
- Hammer, drill, screwdriver, or staple gun
- Saw, cutter, or scissors
Here are the instructions for finishing the floor:
- Choose the type of flooring that suits your needs and preferences. Consider the durability, comfort, appearance, and maintenance of the flooring material.
- Lay the subfloor over the insulation, using the appropriate material and method. For example, you can use plywood or OSB for laminate or vinyl flooring, cement board for tile flooring, or carpet underlay for carpet flooring. Secure the subfloor with adhesive, nails, screws, or staples, following the manufacturer’s instructions.
- Install the flooring over the subfloor, using the appropriate material and method. For example, you can use laminate or vinyl planks that snap together, carpet tiles that stick to the subfloor, or ceramic tiles that require grout and sealant. Follow the manufacturer’s instructions and make sure the flooring is level and aligned.
Why is Concrete Slab Insulation Important?
Concrete is a durable and versatile material, but it is also a poor insulator. It conducts heat easily, which means it can lose or gain heat quickly depending on the temperature difference between the slab and the surrounding air or soil.
Insulating a concrete slab can help you avoid these problems and enjoy the following benefits:
Lower energy bills
By reducing heat loss through the ground, you can save up to 15% on your heating bills, according to the Sustainable Energy Authority of Ireland (SEAI). This means that you can pay back the cost of insulation in a few years and enjoy long-term savings.
Higher energy rating
By improving the energy efficiency of your home, you can increase its Building Energy Rating (BER), which is a measure of how well your home uses energy. A higher BER can boost the value and attractiveness of your home, especially if you plan to sell or rent it in the future.
Greater comfort
By keeping your home warmer and more consistent in temperature, you can enhance the comfort and well-being of your family. You can also avoid cold spots, draughts, and temperature fluctuations that can affect your health and mood.
Reduced carbon footprint
By using less energy to heat your home, you can reduce your greenhouse gas emissions and contribute to the fight against climate change. According to the SEAI, insulating a concrete slab can save up to 1.5 tonnes of CO2 per year, which is equivalent to taking a car off the road for six months.
Improved air quality
By preventing moisture problems, such as dampness, mould, and condensation, you can improve the air quality and hygiene of your home. You can also avoid respiratory issues, allergies, and infections that can be caused by these problems.
Final Words
Insulating your concrete slab is a smart investment for enhancing your home's comfort, energy efficiency, and overall value. By following the practical steps outlined in this blog, you can effectively reduce heat loss, lower energy bills, and create a more consistent and comfortable living environment.
Don't let cold floors and high heating costs burden you any longer. Take action now and enjoy the long-term benefits of a well-insulated concrete slab.